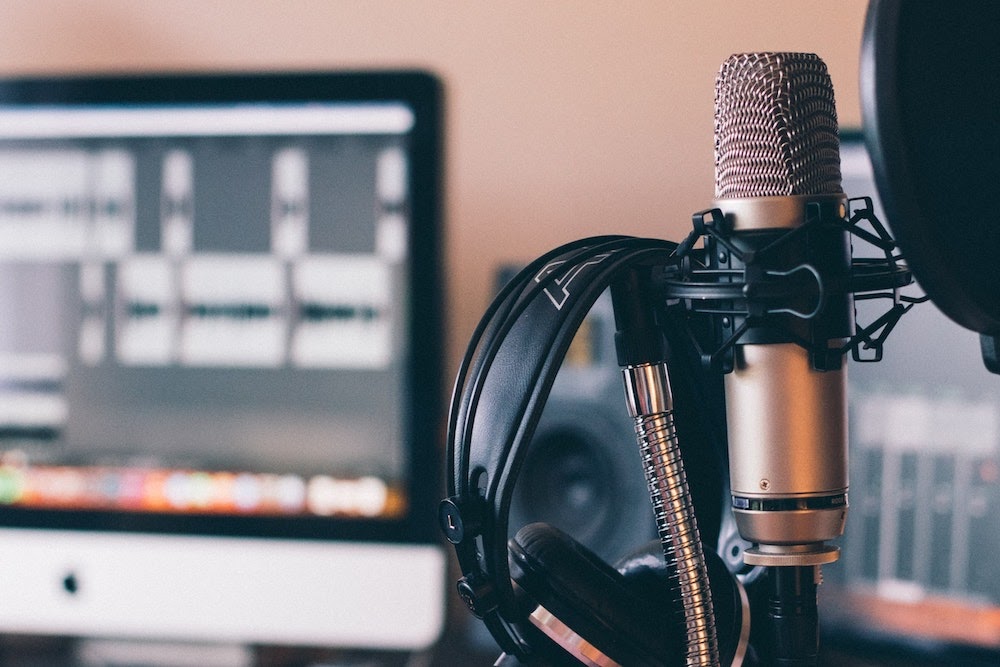
In this tutorial, we’ll show you how to record live audio, from either a microphone or MIDI instrument, straight into an AVID Pro Tools project, where you can then edit it to your heart’s content.
How to Record Live Audio in Pro Tools

Pro Tools has made recording live audio a relatively straightforward process. We’re going to show you how to record live audio straight from a single mic input source for this setup.
Step 1: Create or open a Pro Tools project
Step 2: Create a new audio track by selecting “Track” from the menu bar, then selecting “New” from the drop-down menu that appears.
Step 3: After selecting “New” from the track menu, you’ll be prompted to select either a mono audio track or stereo audio track, the type of audio track, and name your new track. To record audio using a microphone, select “Audio Track” as your track type.
Step 4: Once you’ve made your selection and named your track, click “Create” at the bottom of the pop-up window to create your new track.
Step 5: Switch to the Mix window and locate the mixer that corresponds to your new track.
Step 6: Locate the input/output sources (labeled I/O) and ensure your input is set to your internal or external microphone source.
Step 7: Record-enable the track by selecting the record enable button on the mixer (looks like a square with a circle in the center). Test your audio levels by playing or singing into the microphone and set your audio levels so that your audio doesn’t “peak” or go into the red zone on the audio monitor during your loudest moments.
Step 8: Return to the Edit window
Step 9: Record-enable your track by pressing the record button to the left of your track.
Step 10: When you’re ready to record, hit the spacebar to start recording.
Step 11: When you’re done recording, hit the spacebar again to stop recording.
Step 12: To playback the recorded audio, first move the time marker to the beginning of the track, disengage the record enable button, then press play (or use the space bar).
And that’s it! Now you’re all set to keep adding tracks and recording/re-recording audio to your heart’s content.
Create together remotely, in real time

How to Record MIDI tracks in Pro Tools
Now, we’ve covered live audio recording with an external or internal microphone, but for musicians and mixers, most of the recording you’ll be doing is with MIDI instruments and devices. These can be guitar inputs, keyboards, turntables, and much more.
To record audio using a MIDI instrument, follow these steps:
Step 1: Create or open a Pro Tools project
Step 2: Create a new audio track by selecting “Track” from the menu bar, then selecting “New” from the drop-down menu that appears.
Step 3: After selecting “New” from the track menu, you’ll be prompted to select either a mono or stereo audio track, the type of audio track, and name your new track.
To record audio using a MIDI instrument, select mono or stereo for your recording preference and select “Instrument” as your track type.
Step 4: Once you’ve made your selection and named your track, click “Create” at the bottom of the pop-up window to create your new track.
Step 5: Switch to the Mix window and locate the mixer that corresponds to your new track.
Step 6: Click on the “Insert” selector at the top of your instrument track.
Step 7: The Insert window will appear. Use this window to locate the plug-in associated with your MIDI instrument (instructions on installing your plug-in should be included with your MIDI device) and select it.
Step 8: Return to the Edit window.
Step 9: Open the “Options” menu and make sure “MIDI Thru” is selected.
Step 10: Record-enable your track by pressing the record button to the left of your track.
Step 11: When you’re ready to record, hit the spacebar to start recording.
Step 12: When you’re done recording, hit the spacebar again to stop recording.
Step 13: You can now playback the recorded audio by moving the time marker to the beginning of the track and pressing the play button.
Now you’re all set to play and record your MIDI instrument straight into Pro Tools. Again, remember that most MIDI instruments will require you to install a plug-in before using them in Pro Tools. Instructions on how to download and install your instrument’s plug-in should be included with your instrument.
Keyboard Shortcuts for Recording

Pro Tools has included numerous keyboard shortcuts to help you access menus, create tracks, and control your recording functions to make recording easier and faster. Here is a handy list of the most useful shortcuts for recording:
Start/Stop Playback: Spacebar
Half-Speed Playback: Shift + Spacebar
Start Record: Cmnd/Ctrl + Spacebar, F12, or 3 (if using numeric keyboard)
Stop Record: Spacebar
Create New Track: Cmnd/Ctrl + Shift + N
Recording is The Foundation to Limitless Audio Creation
Once you’ve gotten the hang of recording into Pro Tools, you open up an entire world of being able to capture and manipulate live audio. Pro Tools has hundreds of tools that make it easy to do everything from cleaning up fuzzy vocal recordings to creating completely new sounds. Hopefully, this guide gets you one step closer to mastering this program and empowering you to create bigger and better projects.
And if you’re looking for a better way to bring your remote audio production team closer together and collaborate more efficiently from a distance, check out Evercast. Evercast allows you to stream your Pro Tools edit sessions in HD while video chatting and exchanging notes with your team, all under one platform. Because we believe collaboration is the magic behind the movies, and you shouldn’t be slowed down no matter where your team is working in the world.


