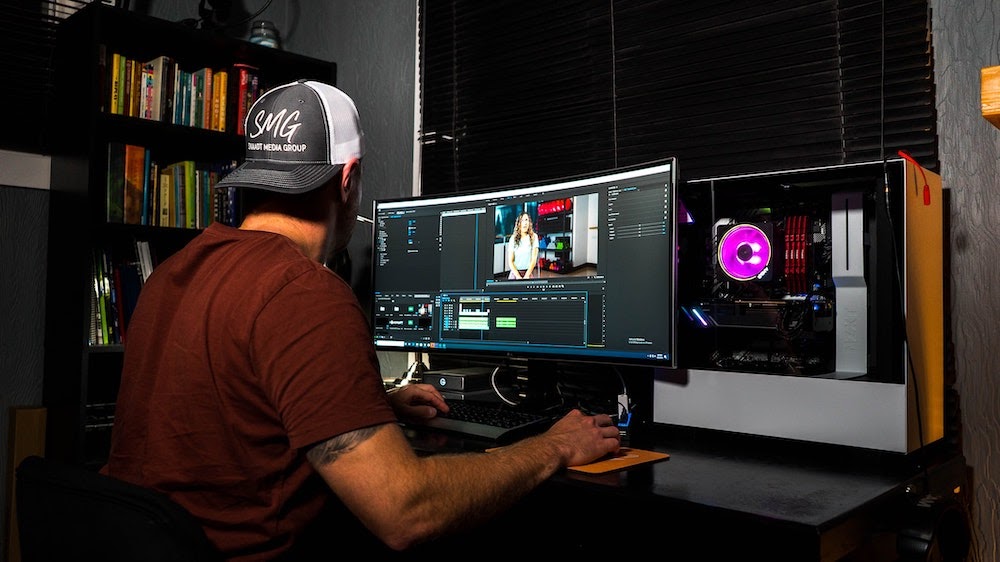
Slow-motion is a great way to add a dramatic effect to a video clip or sequence. We see it used in everything from sports to TV dramas, and with DaVinci Resolve, you can add it to any of your video editing projects.
There are multiple ways to create a slow-motion effect in Resolve. We’re going to cover our top three methods, from easiest to most complex, to help you find some new techniques to apply to a wide variety of projects.
Three ways to create slow-motion effects in DaVinci Resolve
There are several methods you can use to create slow-motion effects in DaVinci Resolve. We’ll start with the simplest method, which allows you to slow down any clip from start to finish.
Method #1: Changing the clip speed
Step 1: Drag and drop the part of the clip you want to make slow motion to the timeline.
Step 2: Go to the “Cut” workspace by clicking the Cut icon at the bottom of the window.
Step 3: Right-click or Ctrl + click on the specific section where you want to change clip speed.
Step 4: In the menu that appears, select “Clip Speed.”
Step 5: In the “Tools” menu that appears, you’ll now see the Speed controls.
Step 6: To slow down your clip, click and drag the speed amount to the left until you reach your desired slow motion effect.
Now the whole clip will play at a fraction of the original speed. This works especially well for videos that are shot at a high frame rate that you want to slow down the entire clip.
However, most cameras (even professional ones) can only shoot up to 60 frames per second. Anything higher than that, and you need a special high-speed camera designed only for slow motion.
People have been clamoring for DaVinci Resolve to build a better solution for this for years, especially as other editing platforms have rolled out high-speed interpretation software that can mimic the effect of a high frame rate using AI. In DaVinci Resolve, you can create the effect of ultra-high-speed frame rates using normal footage. Here’s how:
Method #2: Interpreting footage to a new frame rate
If you have footage you shot at 60p or even 30p, you can change the frame rate in clip attributes to create a crisper slow-motion effect.
Step 1: Import your 60p footage to your project, but don’t add it to the timeline yet.
Step 2: Ensure that your project frame rate is set to 23.976.
Step 3: Right-click on the clip (or Ctrl + click) and select “Clip Attributes.”
Step 4: Under the “Frame Rate” option, set your clip frame rate to 23.976.
This clip will now playback at a slower rate when added to your project.
Step 5: Drag and drop your clip to the timeline.
Now, when you play the clip back on the timeline, it should have a crisp, slow-motion effect. But what if you want to slowly go from slow-motion back to regular clip speed, or vice versa? Well, then it’s time to learn how to use “Retime” controls.
Create together remotely, in real time


Method #3: Using Retime Controls
Using retime controls allows you to change part of your clip speed several times within a single section. You can use this to seamlessly transition from regular time to slow or fast motion, then back again.
The first option we’ll cover is using “Retime Controls.”
Step 1: Drag your clip to the timeline.
Step 2: Right-click (or Ctrl + click) on the clip, and in the drop-down, go to “Retime Controls,” then select “Speed.”
Step 3: Choose one of the ramp options under the speed controls.
This will break up the clip into separate clips depending on your ramp option. Each clip will be a different speed, going from 10%-100%, or vice-versa.
Step 4: Click on each new clip section and customize your speed as needed.
Now, if you start customizing the speed between clips, it may seem uneven or choppy. Thankfully, we can fix that using “Retime Curves.”
To smooth out speed transitions with Retime Curves, follow these steps:
Step 1: Right-click (or Ctrl + click) on the clip, and in the drop-down, go to “Retime Curves.”
Step 2: The clip will now have a curve graphic with different speed point markers. To smooth these out, click on a speed point and select the “Bezier” icon.
Step 3: Handles will now appear on your speed point. Click and drag these handles to smooth out the speed transitions.
And that’s it! Now you can have a nice, smooth speed ramp worthy of ESPN highlight reels.
Final thoughts
Now, you can capture the drama of so many moments with a tension that only slow motion can bring.
You can also use these techniques to create freeze-frame effects, reverse them to ramp up footage speed, and even create super subtle clip speed changes to gently manipulate your footage timing. It’s a great technique for all aspiring professional video editors to have in their wheelhouse.
And if you’re looking for a better way to enhance your post-production processes, consider Evercast. Evercast allows you to stream your DaVinci Resolve edit sessions in HD while video chatting and exchanging notes with your team, all under one platform.


